Affecting use of HD resolutions on the 4K capable monitors, possibly affects performance of Playback Pro and ProPresenter applications.
MacOS by default always output at the native monitor panel resolution or the max resolution in the EDID file and uses GPU scaling, even when you select in Settings>Display an HD resolution, to keep the text sharp via HiDPI rendering, meaning the signal going to the monitor is always 4K.
With some of the monitors you will be able to select 1920 x 1080 resolution or 1920 x 1080 (low resolution) and MacOS will output true 1080p signal to a 4K panel.
There is a good article on BetterDisplay Github page on MacOS scaling and HiDPI and LoDPI.
There is couple of methods to force MacOS to output true 1920 x 1080 resolution:
MacOS Settings > Display > Low Resolution
Go to MacOS System Settings and select Displays in the sidebar.
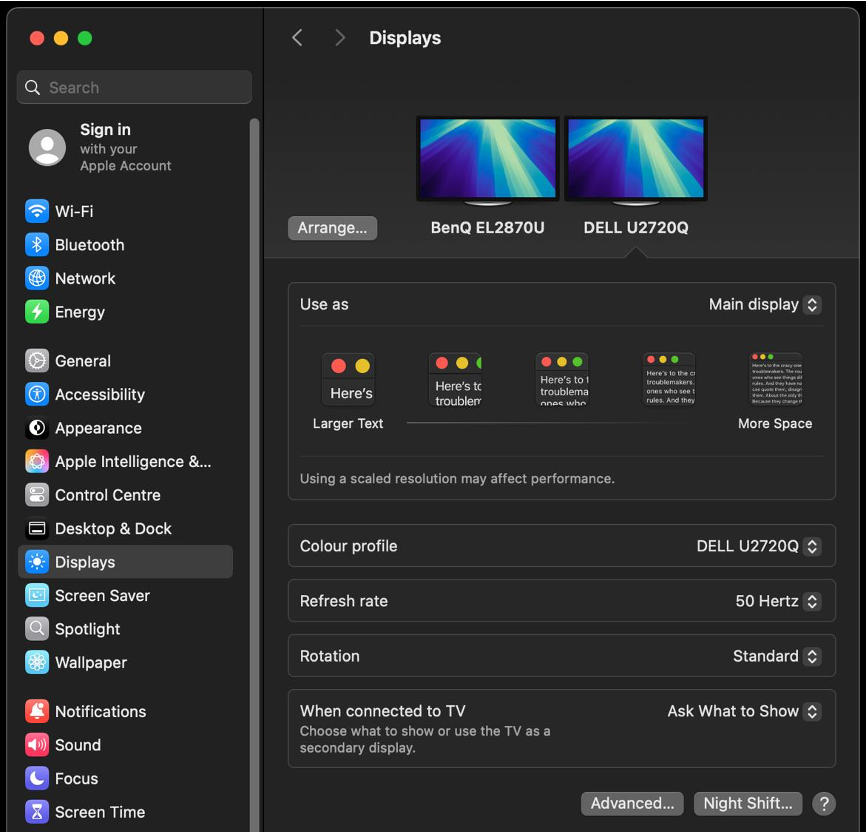
Hold down Option Key and left click on any of the icons in the “Use as” area as shown above and you should see a list of resolutions.
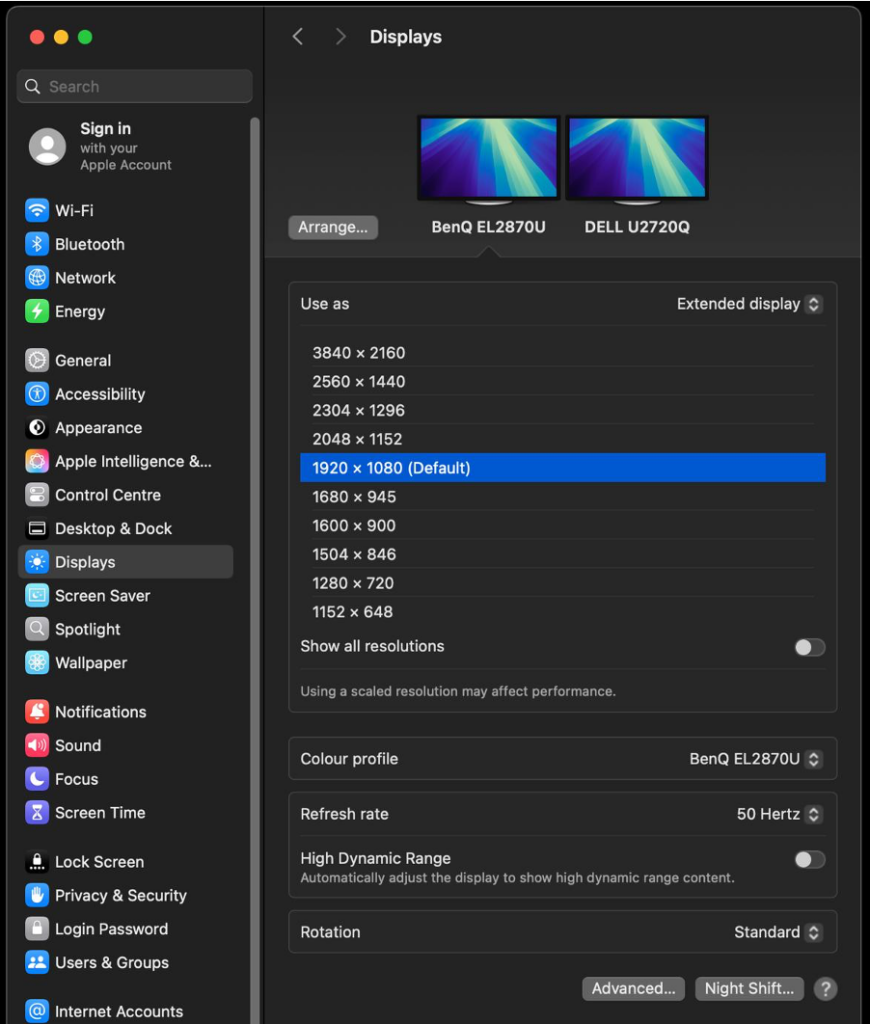
This is where it is misleading, shown above is selected 1920 x 1080 (Default) while MacOS still output 3840 x 2160 signal looking like a 1920 x 1080 via HiDPI scaling.
Now toggle the “Show all resolutions” at the bottom of the list. Select 1920 x 1080 (low resolution), it is likely nothing will change and output 3840 x 2160. If so, scroll down to the refresh rate and change it to the desired, now your output should change to 1920 x 1080.
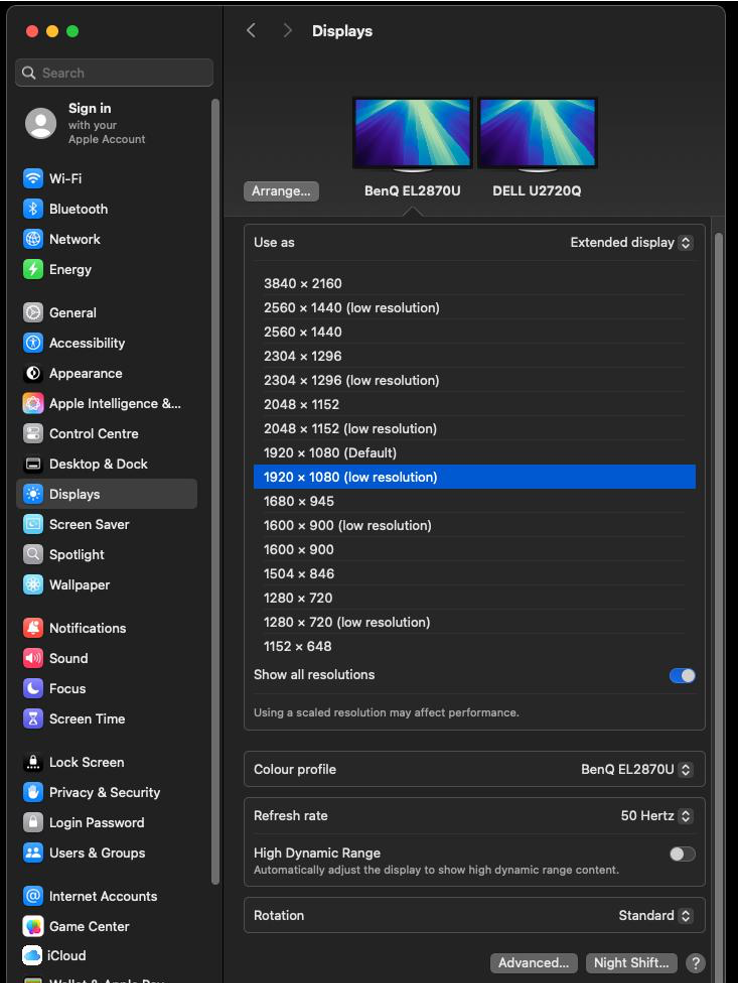
It seems that after ‘Low resolution’ is selected it needs a refresh rate change to kick it into the right mode. We don’t believe this is a bug, rather a feature macOS has when it detects EDID’s that have a large amount of supported resolutions.
Check monitor for the information what resolutions are they getting, if it is 1920 x 1080 you are good to go, if it still 4K you will either need to have EDID emulator in line or use BetterDisplay to configure the native panel resolution to 1920 x 1080.
We have seen at CT UK that above configuration works with Iiyama 4K monitor and Blackmagic VideoAssist monitors but doesn’t with Benq 4K and Atomos Sumo monitor.
BetterDisplay – Native Panel Resolution Configuration
Start BetterDisplay app, open the app menu and then Settings.

Navigate to Displays section in the Sidebar, select the desired monitor.
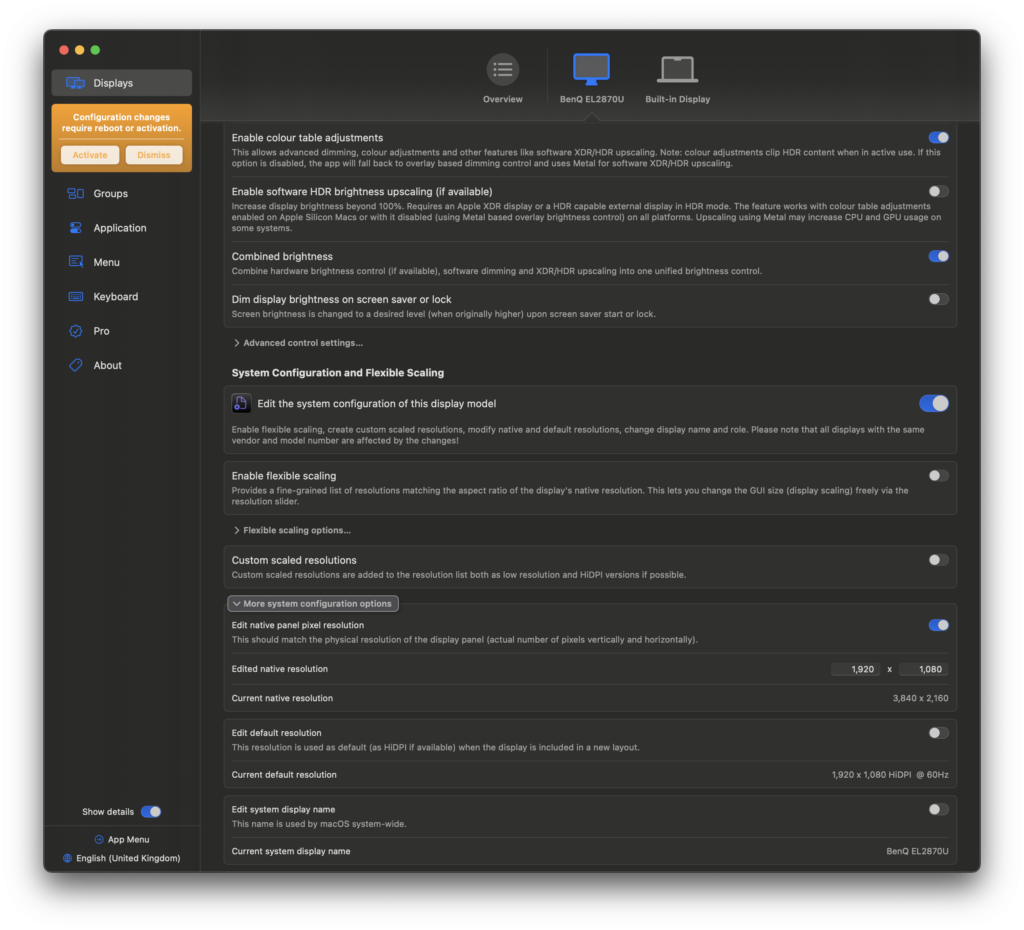
Scroll down to the System Configuration and Flexible scaling section.

Toggle “Edit the system configuration of this display model” and “Edit native panel pixel resolution”
Enter 1920 x 1080 under “edited native resolution as below:
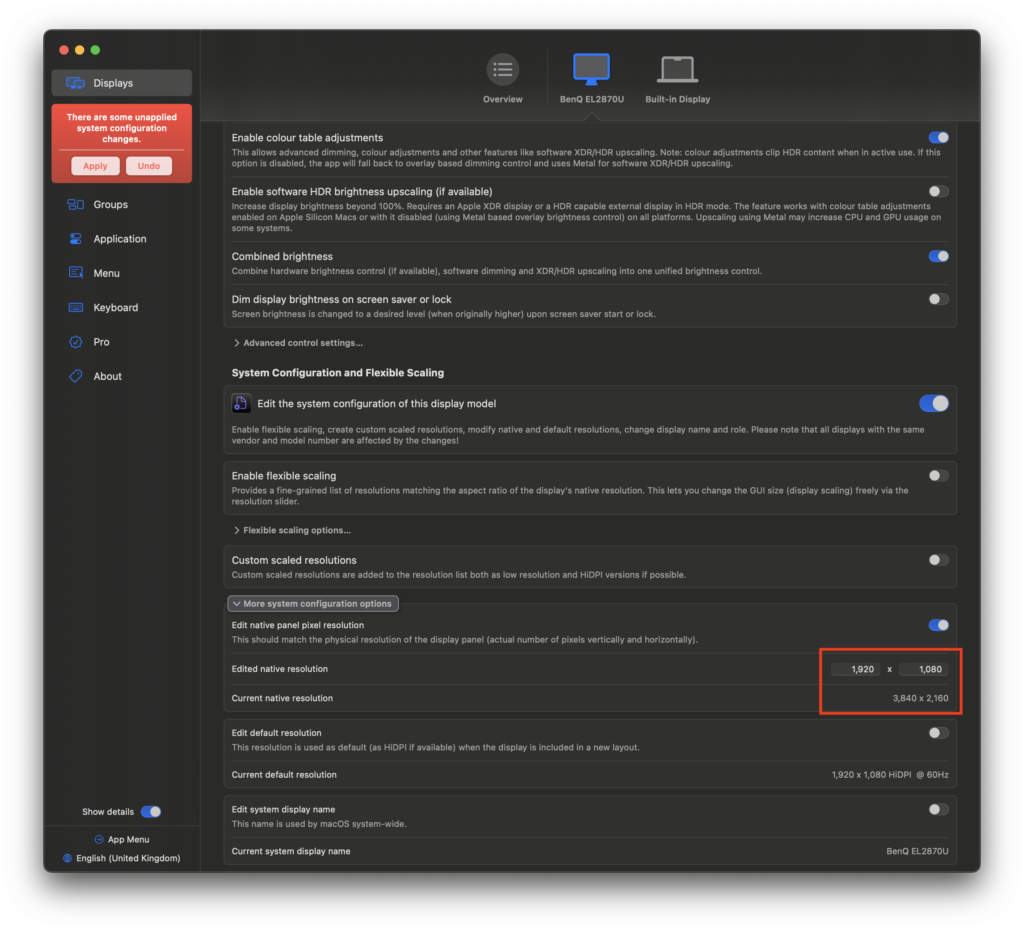
Click on Apply button in the sidebar and enter your MacOS credentials.
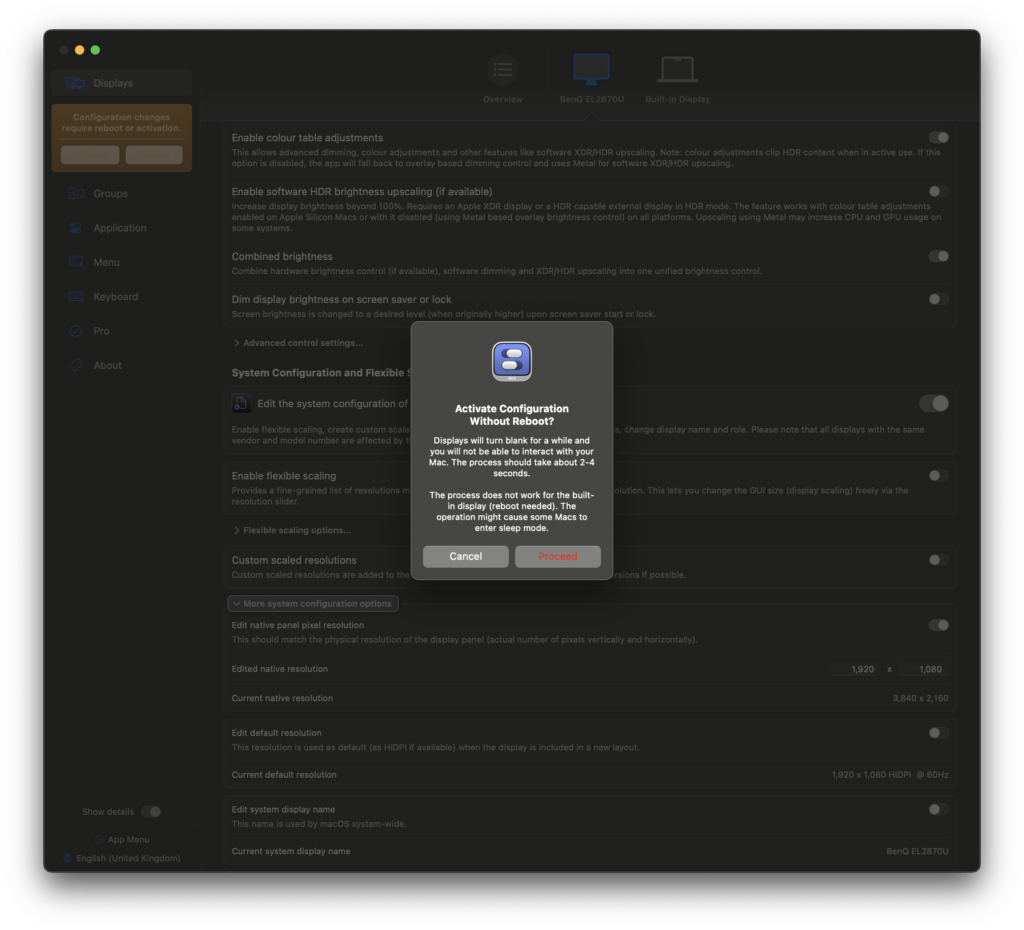
Click on Activate Button in the yellow window in the Sidebar, followed by Proceed to apply the configuration without reboot.
You should head next to the BetterDisplay app menu and adjust refresh rate or if more convnient head to MacOS System Settings > Displays and change the refresh rate there.
Your monitor should now show that is receiving true 1920 x 1080 signal .
Leave a Reply
You must be logged in to post a comment.